Every man should know his way around a kitchen. You eat, right? So you should know how to cook. We're not saying it has to be every day, but wouldn't you like to be the guy who cooks tender, juicy meat every single time? That'd be satisfying, not to mention useful. But we also know how intimidating cooking can be—especially when it comes to meat.
Red meats like beef, lamb and pork are some of the most luxurious (and expensive) ingredients we use in the kitchen. Which means you don't want to waste a scrap and you certainly don't want to mess up and serve a piece of meat that's dry, chewy or lacking flavor. That'd just be a sad waste of money and time.
What's clear is that the world of meat is a labyrinth of different cuts and styles. The sheer amount of cut names—bottom round, shank, short plate, boneless top blade, flaps—is more than anyone other than a trained butcher can keep track of. Cook's Illustrated has a wonderful guide that their test kitchen editors put together—part cookbook, part handbook organized by animal and its primal cuts, it provides essential information and techniques to empower you to explore options and recipes that make those cuts shine.
But if you want a really simplified version, here's your meat cheat sheet: If your cut is a smaller, thinner piece or has lots of marbling, you want to cook it quickly on the stovetop. If it's a larger piece (big enough to serve a few people) or if you see lots of tough-looking tissues around the surface, plan on roasting, braising or slow cooking.
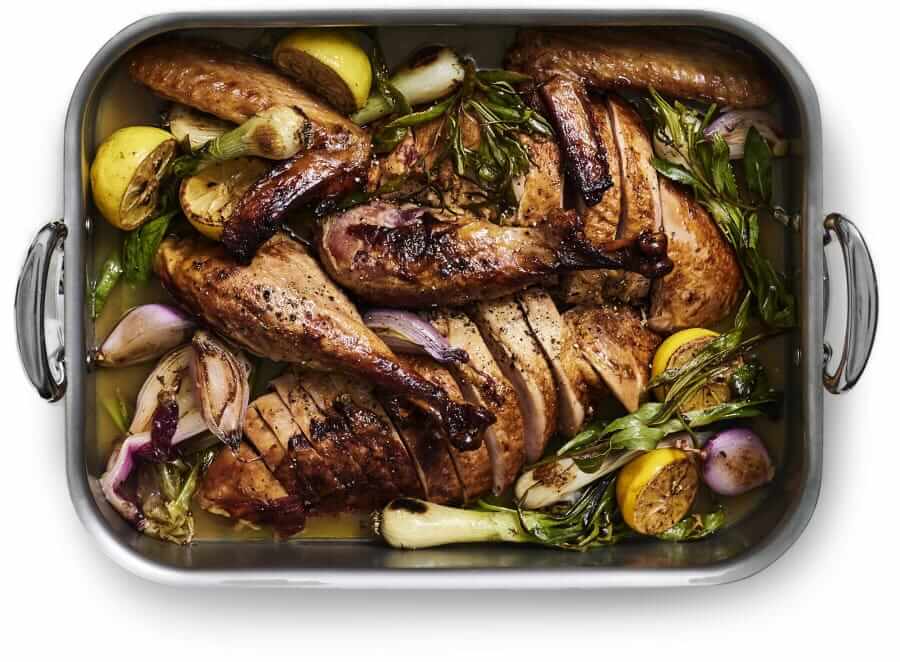
If you ask us, roasting is the fool-proof way to ensure a perfectly tender, juicy piece of meat. There's less pressure and less chances to mess it up. Roasting is basically three steps. Season, roast, rest. It's one of the few occasions where the path of least resistance provides a truly magnificent result. Perhaps it's why this ancient culinary technique has stood the test of time. What's happening is that you're exposing your meat to sustained dry, hot air—but unlike old-fashioned spit roasting, in which the meat was exposed to a smoky open flame, your oven provides only heat. That means flavors will come from your choice of seasoning and from how good the meat is to begin with. So preheat the oven and heed these tips, then pour yourself a drink because you're about to get your roast on.
Advertisement

Prepare Your Meat
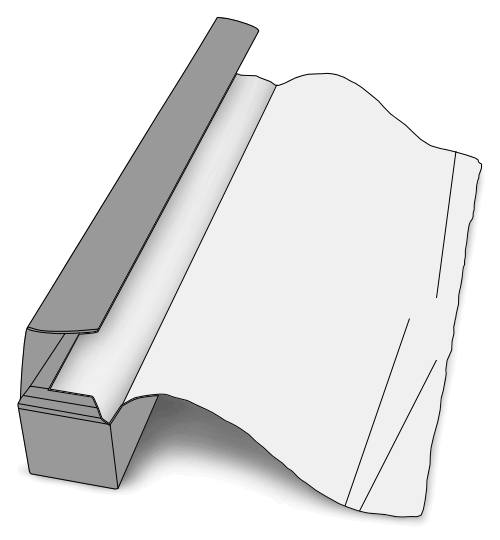
Before roasting, it's essential to prepare the meat properly. Pat the meat dry with paper towels to remove excess moisture, which can hinder the development of a flavorful crust. Season the meat generously with salt, pepper, and any desired herbs or spices. Allow the meat to come to room temperature for even cooking.
Invest in the
Right Equipment
Using a good-quality roasting pan and a meat thermometer will make a difference. A roasting pan with a rack allows air to circulate around the meat, ensuring even cooking and a crispy exterior. A meat thermometer helps you monitor the internal temperature, guaranteeing that your meat is cooked to perfection.
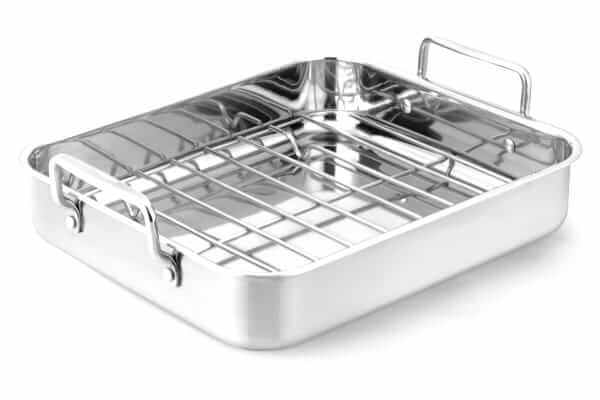
Stainless steel roaster pan,
$149.95 by Williams Sonoma

Quick-read meat thermometer,
$41 by Dash
Start Roasting
There are various roasting techniques, including high-heat roasting and low-and-slow roasting. High-heat roasting is ideal for smaller cuts that benefit from a seared exterior, while low-and-slow roasting is perfect for larger cuts that require longer cooking times. Tailor your approach based on the type of meat you're working with and the recipe you're following.
Advertisement
Baste for Flavor
Basting involves periodically brushing the meat with its own juices or a flavorful liquid during the roasting process. This enhances the flavor, keeps the meat moist and contributes to the development of a delicious crust. Experiment with basting liquids like broth, wine, or a mixture of herbs and butter.
Let It Rest
Once the meat reaches the desired internal temperature, remove it from the oven and give it time to rest. Resting allows the juices to redistribute throughout the meat, ensuring a moist and tender result. Cover the meat loosely with foil and let it sit for at least 10-15 minutes.
Start Slicing
The final step is carving the meat. Use a sharp carving knife and slice against the grain for optimal tenderness. Pay attention to the meat's natural structure, and present your perfectly roasted dish with pride.
FYI
Despite a huge rise in the popularity of a vegetarian lifestyle, about 95% of Americans still eat meat on a regular basis.
Advertisement


31 Days
Volume 16 / Year 2024
-

1
Lift
Heavy Weights -

2
How to Be a
Modern Gentleman -

3
How to Calm
Someone Down -

4
Brighten Up
Your Place -

5
A Toast
to Solitude -

6
Your Body Needs
Exfoliation -

7
Work Some Vintage
Into Your Wardrobe -

8
“What Self-Care
Means to Me” -

9
Learn to
Be on Time -

10
Simplify
Your Style -

11
Be More Knowledgable
About Coffee -

12
How to End a
Conversation -

13
How to Buy
a Quality Watch -

14
Squash
Your Anxiety -

15
A Strategy for
Shedding Pounds -

16
Keep Your
Promises -

17
Become a
Planner -

18
Find Your
Misogi -

19
Customize Your
Own Cologne -

20
Boost Your
Metabolism Naturally -

21
Use a
Tongue Scraper -

22
Break In a
Pair of Shoes -

23
Become a
Meat Master -

24
The Science
of Gratitude -

25
Fall Asleep
Fast -

26
Learn to
Drive Stick -

27
Boost Your
Protein -

28
Modernize Your
Underwear Drawer -

29
Get a
Tux -

30
Garnish Your
Cocktails -

31
Find Something
to Care About
Advertisement